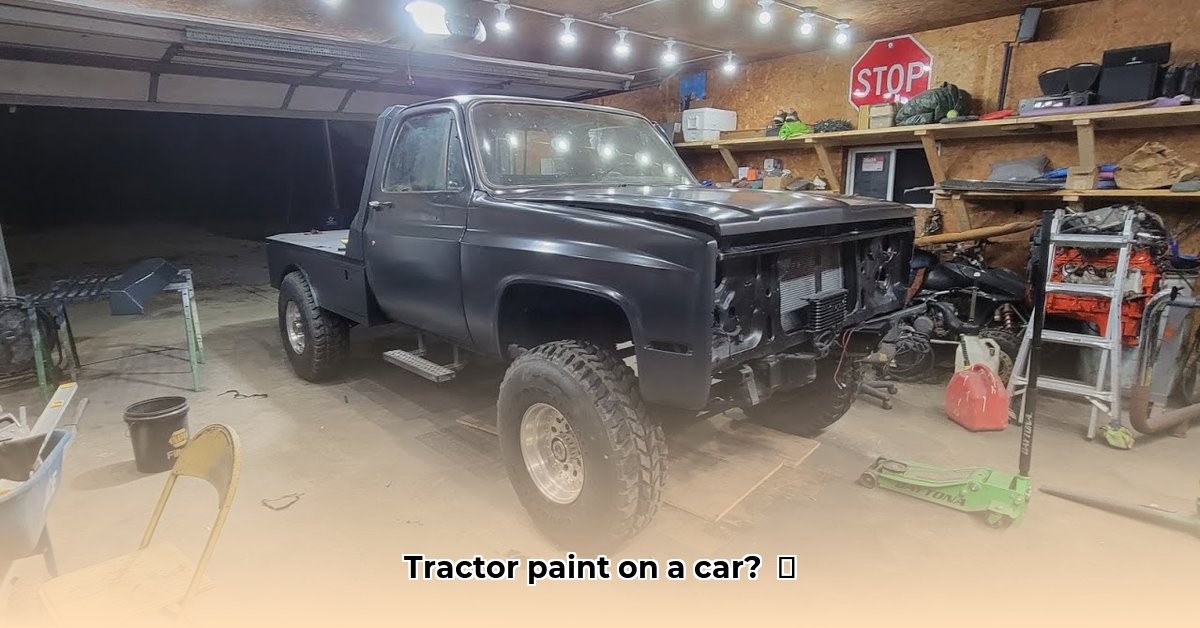
Thinking about a car paint job but on a budget? Tractor paint offers a surprisingly durable and affordable alternative to automotive paint. This comprehensive guide provides a step-by-step process, a realistic review, and troubleshooting tips to help you determine if this unconventional approach is right for your project.
Step-by-Step: Painting Your Car with Tractor Paint
This DIY project demands meticulous preparation. Cutting corners here will compromise your final result.
1. Surface Preparation: The Foundation for a Durable Finish
This initial phase is critical for paint adhesion and the long-term success of your project.
- Thorough Cleaning: Remove all dirt, grease, grime, and debris. Use a degreaser for stubborn contaminants.
- Rust Elimination: Address all rust using wire brushes, sandpaper (starting with coarser grits and moving to finer), and rust converters. Thorough rust removal is paramount; failure to do so will compromise your paint job's longevity.
- Priming: Apply an automotive-grade primer (not a general-purpose primer) for optimal adhesion. Allow ample drying time between coats as specified by the manufacturer.
- Sanding: Once the primer is dry, sand the surface using fine-grit sandpaper to achieve a smooth, even surface. This step significantly improves the final paint's appearance and durability.
- Final Wipe-Down: Remove all dust and debris with a tack cloth before painting to prevent imperfections.
2. Gathering Your Tools and Materials
Ensure you have everything necessary before you start.
- Tractor Paint: Select your color. Tractor paint typically offers a limited color palette compared to automotive paints.
- Roller and Tray: Choose a high-quality roller and tray designed for even paint application to minimize streaks and uneven coverage.
- Brushes: Use brushes for hard-to-reach areas around lights, emblems, and other details.
- Sandpaper: Gather various grits (coarser for rust removal, finer for smoothing).
- Automotive Primer: Essential for optimal paint adhesion.
- Tack Cloth: Essential for dust removal.
- Personal Protective Equipment (PPE): Safety glasses, a respirator mask, and gloves are crucial for protecting your health.
3. Paint Application: Layering for a Strong Finish
Apply the paint methodically and patiently.
- Thin Coats: Apply several thin, even coats, allowing each to dry completely before applying the next. Thinner coats reduce runs and drips.
- Drying Time: Allow adequate drying time between coats as per the manufacturer's instructions. This step is vital for the paint's proper curing and adhesion.
- Hard-to-Reach Areas: Use brushes to carefully paint detailed areas.
- Patience: Rushing this step will compromise the quality of your work.
4. Final Touches and Refinement
These additional steps enhance the paint job's durability and appeal.
- Clear Coat (Optional): A clear coat adds UV protection, scratch resistance, and shine. Consider this for extended protection.
- Light Sanding (If Necessary): Gently sand minor imperfections with very fine-grit sandpaper after the final coat dries, keeping the sanding minimal to avoid damaging the paint.
- Touch-Ups: Apply additional paint or clear coat to any sanded areas for a uniform look.
Is Tractor Paint the Right Choice? A Critical Review
Before starting, consider the following pros and cons:
Advantages:
- Exceptional Durability: Tractor paint is formulated to withstand harsh conditions, offering superior durability and protection against chipping and scratching. It's designed for robust conditions.
- Cost-Effectiveness: Tractor paint is generally much more affordable than automotive paint. This is a significant advantage for budget-conscious projects.
- Relatively Easy Application: The application process is relatively straightforward, making it suitable for DIY enthusiasts.
Disadvantages:
- Limited Color Selection: The limited color palette might restrict your creative choices. A variety of colors is often not available.
- Potential for Imperfect Finish: While a satisfactory finish is achievable, it might not match the smoothness and gloss of premium automotive paints. Expect a more matte finish.
- Lack of Comparative Data: Direct comparisons against automotive paint are limited. Further research is needed for a thorough comparison.
Troubleshooting: Addressing Common Issues
- Uneven Finish: Caused by improper surface preparation or uneven paint application. Re-sand, re-prime, and re-paint affected areas.
- Runs and Drips: Caused by applying too much paint at once. Apply multiple thin coats.
- Poor Adhesion: Likely due to insufficient surface preparation. Re-evaluate cleaning, rust removal, and priming steps.
Frequently Asked Questions (FAQ)
- Can I use any primer? No, use automotive-grade primer for optimal adhesion.
- How much UV protection does tractor paint offer? A clear coat significantly enhances UV protection.
- How long does the paint job last? With proper preparation, several years or even longer depending on weather conditions.
Painting your car with tractor paint presents a unique set of trade-offs. Thorough preparation is crucial for a successful outcome. Weigh the pros and cons carefully before proceeding.